An arepa is a type of food that is made from ground maize dough. The dish originated in pre-Columbian times in the northern region of South America and is notable in Colombian and Venezuelan cuisines. In those countries, it is eaten every day.
t can be served with accompaniments such as milk, cuajada (fresh cheese), various meats, fish, avocado, or diablito (devil ham spread). In modern times, you may find even more creative an unusual fillings for these yummy treats.
Arepas are traditionally made by soaking and pounding dried corn in a pilón — a large mortar and pestle. The moist pounded dough would then be molded and baked into cakes. The cakes are split open and filled with the filling of your choice.
Venezuelan-Style Arepas
- Author: Romae Chanice Marquez
- Recipe Category: Snacks
- Cuisine: Venezuelan
The whole preparation and baking time is 30 minutes. This recipe is suitable for at least six servings.
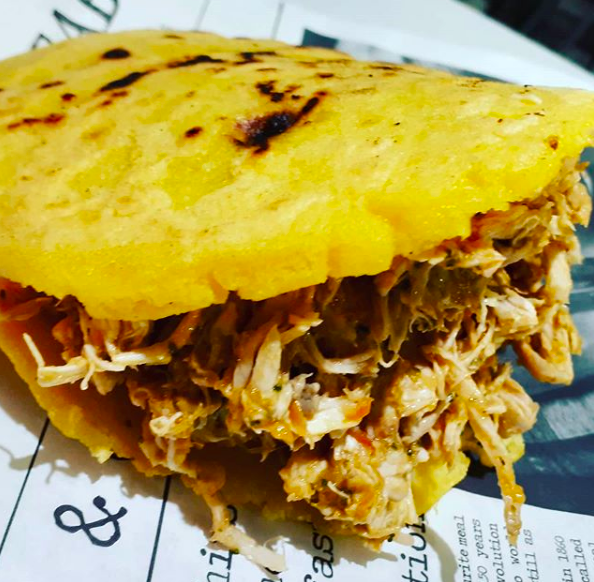
Photo credit: @elrefugiobarcerveceria / Instgram.com.
Venezuelan-Style Arepa Ingredients
- 2 cups warm water
- 1 heaping tsp sea salt
- 2 cups Areparina
- 1 tbsp avocado oil, coconut oil, or vegan butter for cooking
Venezuelan-Style Arepa Instructions
Step 1: Preheat oven to 176 C (350 degrees F). Place parchment paper on a baking sheet. And add the water and salt to a large mixing bowl. Stir in salt until it has dissolved.
Step 2: Add the Areparina in slowly and mix it in with a whisk or with your fingertips. You can work your way up to two cups. You’re looking for a dough that doesn’t stick to your hands quickly, that’s moldable and moist, and that can be rolled into a ball. After having this consistency, cover for 5 minutes with a towel. If you wish, you can mix both white and yellow Areparina. This is optional.
Step 3: Uncover the dough, grab a small handful and roll it into a ball. Press the ball carefully between your hands’ palms to form a roughly 1/2 inch thick disk. If it cracks on the sides, your dough may need 1-2 more cups of water.
Step 4: Heat up a large cast-iron or non-stick pan over medium-high heat once the arepas have formed. Swirl the dough ball into some oil until coated. Then add a few arepas to the pan, allowing them some room in between so that they don’t touch. Cook for 2-3 minutes or until deep golden brown. You’re looking for a crust to shape. Then flip and cook for another 2-3 minutes or until they are browning on the underside as well.
Step 5: Transfer to your baking sheet lined with parchment and bake for 15-18 minutes or until slightly puffed up and a little more golden brown in color. Many may like to slice into them right away, but at that point, you may find that they are still a bit doughy in the center.
Step 6: Slice in half and eat as it is, spread with butter. You can also cut the arepa 3/4 of the way across, leaving a seam on the bottom so you can stuff it like a pita.
Step 7: Serve hot.
Venezuelan-Style Arepa Additional Information
- The Arepa is a traditional pre-Columbian dish that is now Colombia and Venezuela. At archeological sites in the region, instruments used to make flour for the arepas and the clay slabs on which they were cooked were often found.
- Per serving, this recipe has 150 calories, 19g of carbohydrates, 3g of fat, 5g of protein.
- These arepas will take about 30 minutes to prepare.
- This recipe will make enough for six people.
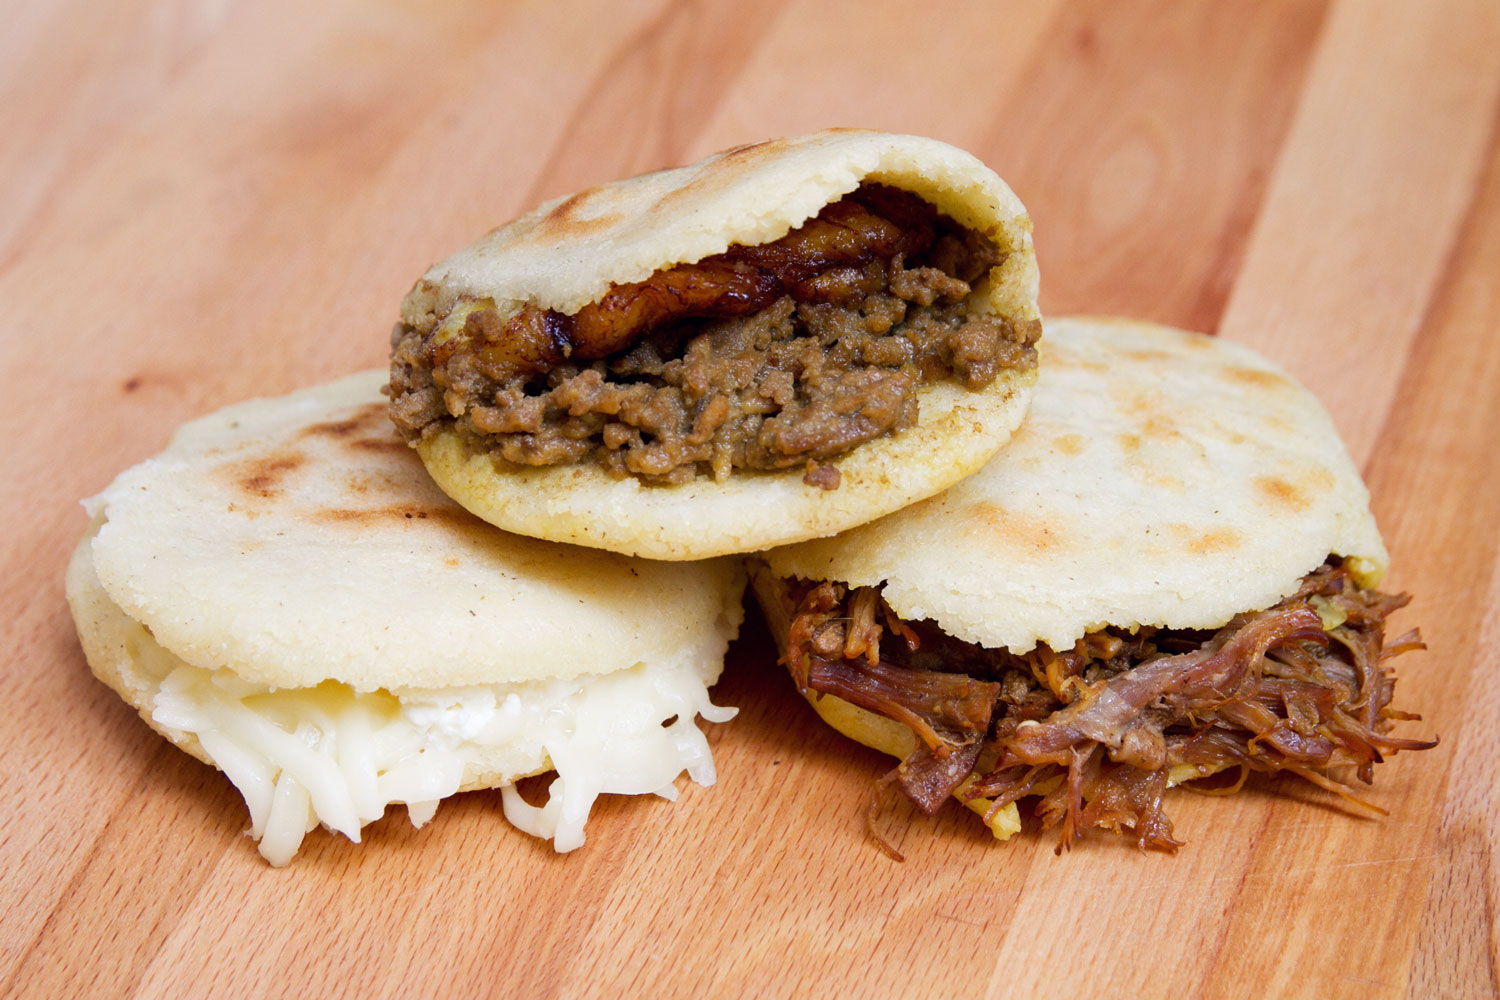
Image source: newyork.seriouseats.com
About Venezuelan-Style Arepas
Throughout its history, the arepa has remained mostly unchanged from the arepas that would have eaten pre-Columbian indigenous peoples. This will make the arepa one of the few pre-contact rituals that have remained popular in the years after colonization. You can find them from restaurants and street vendors all over Colombia and Venezuela.
Conclusion
Venezuelan cuisine is highly-influenced by many cultures. Arepas are one of the best snacks you can try out at home. If you want to learn more snack recipes, click here.
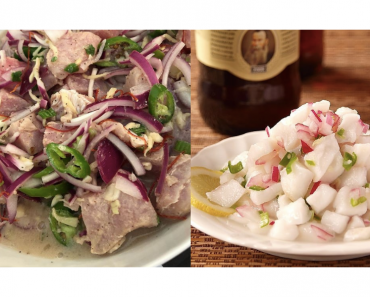
Featured Image: pinterest.ph / Photo 1, epicurious.com / Photo 2